In today’s tutorial, I’ll guide you through the process of building a professional website quickly, and the best part is, that you don’t need to be a tech expert or a professional developer. Let’s dive into the steps.
Step 1: Get a Domain and Hosting
To build a professional website, the first step is to secure a domain and hosting for your website. Follow these simple steps:
Click on the link This link will take you to the hosting and domain provider.
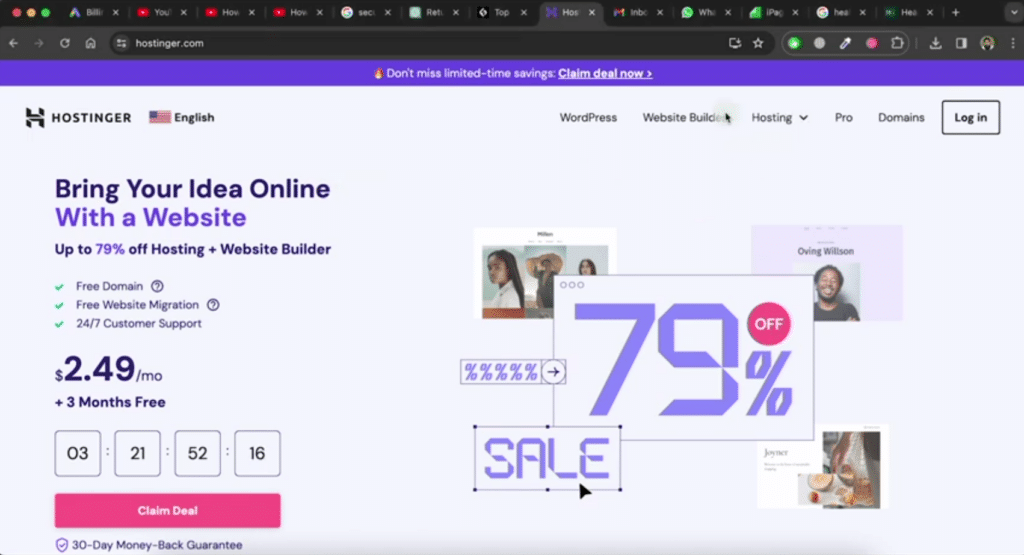
Once there, click on the domains tab.
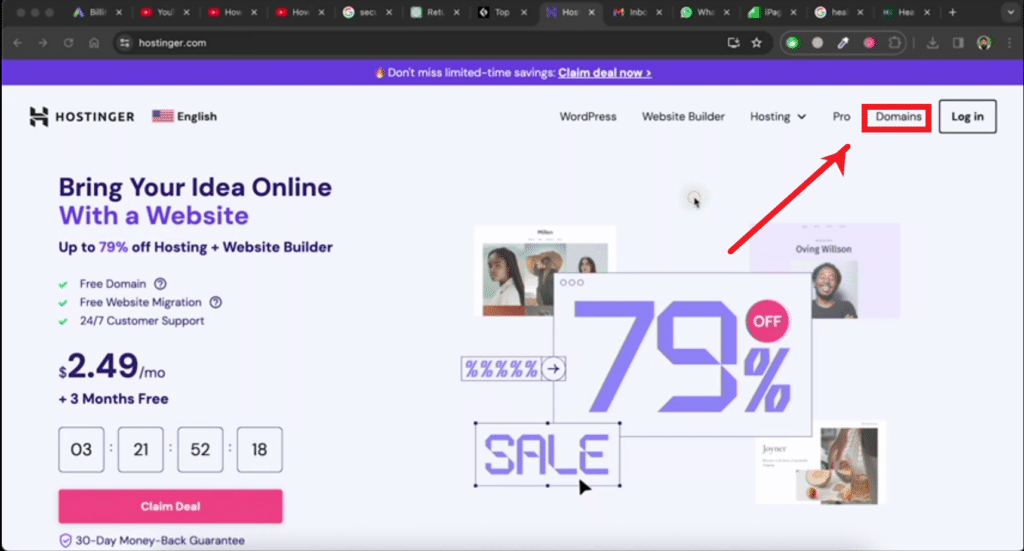
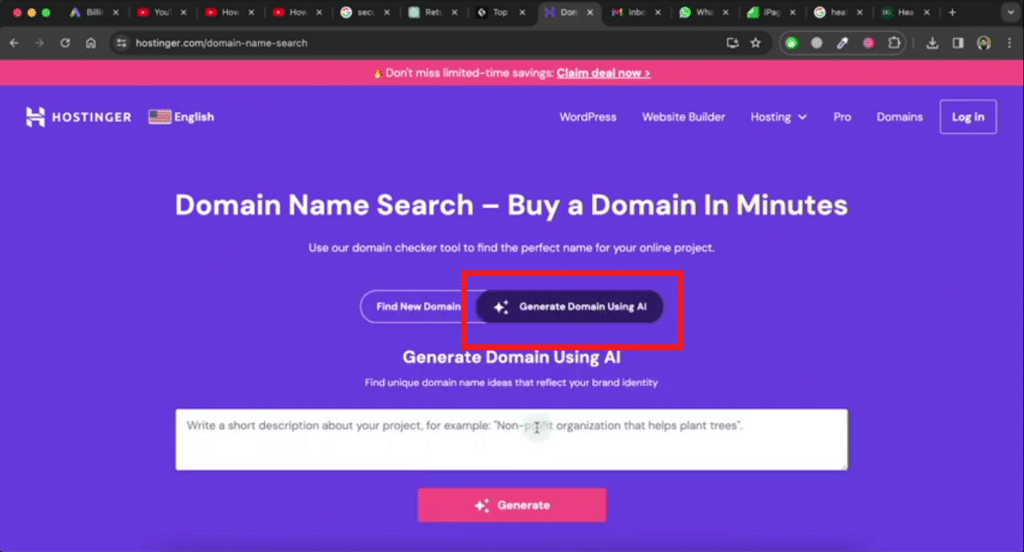
Afterward, click on the generated domain using the AI option. This feature will generate a domain name for you using AI according to your requirements.
Now, paste or type information about your idea in the provided space and then click on the generate button.
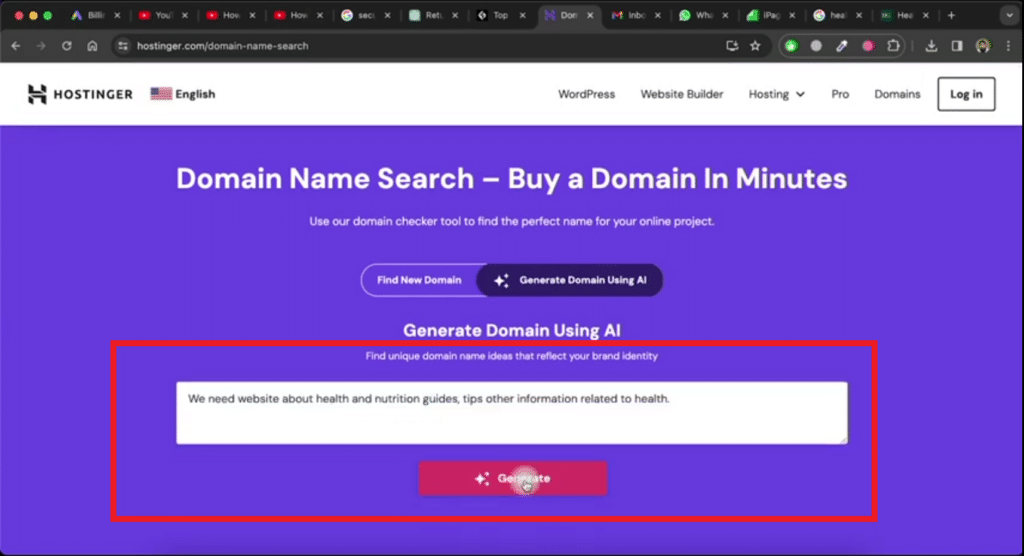
It will generate a domain name for you.
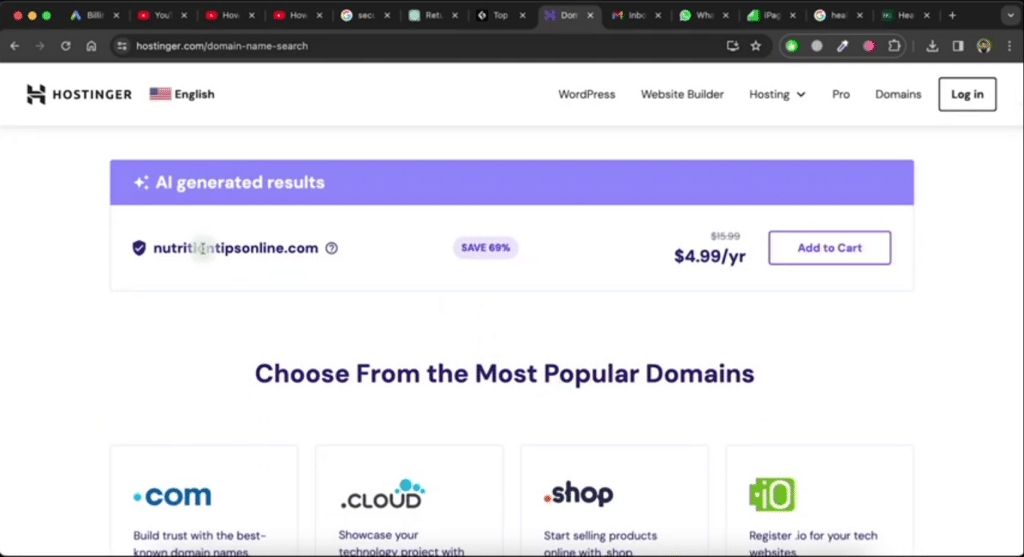
If you don’t like the initial domain name, click again on the generate button. This will regenerate more domain names for you. If you still don’t find a suitable domain name from the list, you can repeat this process.
You can also generate domain names through chatGPT. And believe me, ChatGPT gives mindblowing professional website names. So, just visit chatGPT and type or paste information about your idea and then enter it. For example, if I ask for health and nutrition-related domains, it will create a list of domains. Now, copy a domain name from the list that you like and paste it on the hostinger.com website to check its availability.
If the domain name is not available, then select another domain name from the chatGPT-provided domains list and paste it on hostinger.com for checking.
Step 2: Purchase Domain and Hosting
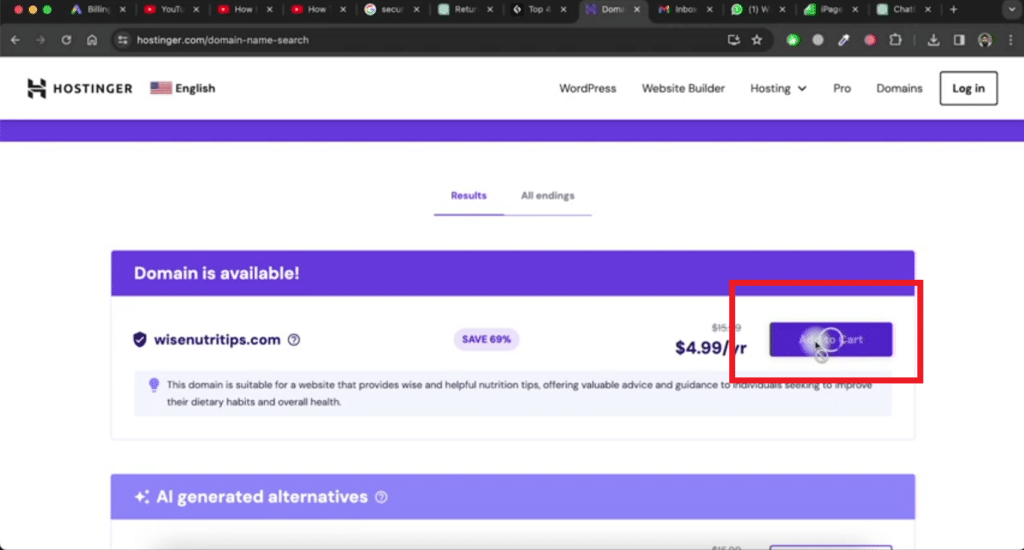
Once you find an available domain name and you like it, click on the add to cart button.
Now, select the period for purchase, create your account, and choose the payment method.
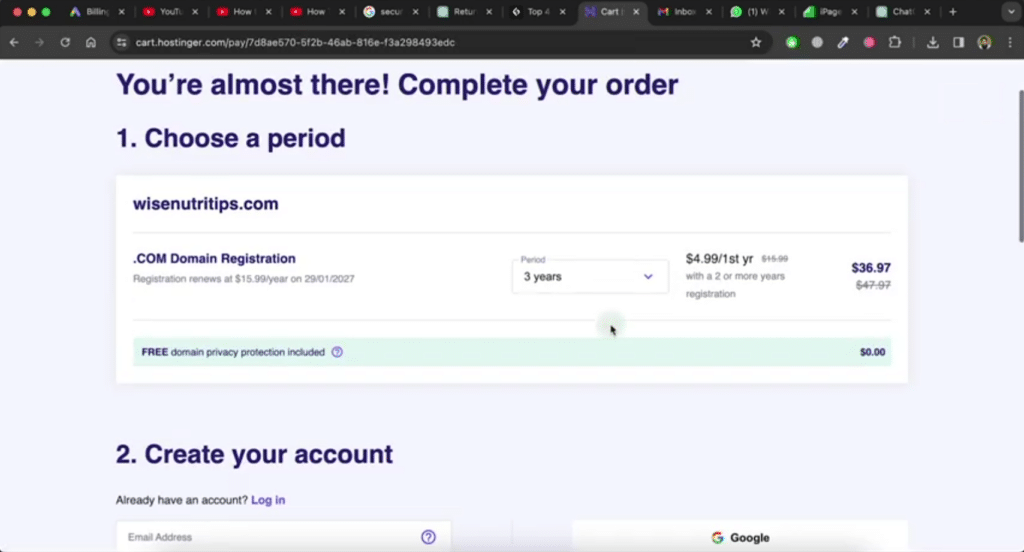
Once you’ve found a suitable domain, proceed to purchase it and select a hosting plan based on your website’s size and audience.
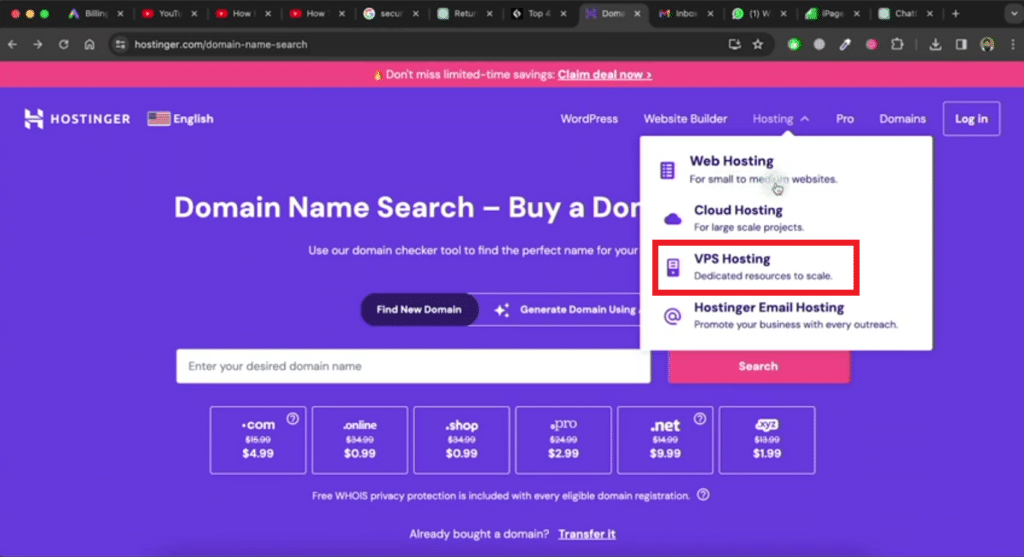
Once you have completed the purchase of the domain, proceed to purchase hosting for your website. Hostinger.com offers multiple hosting options. If you have a small website and not a very large audience, select the web hosting option.
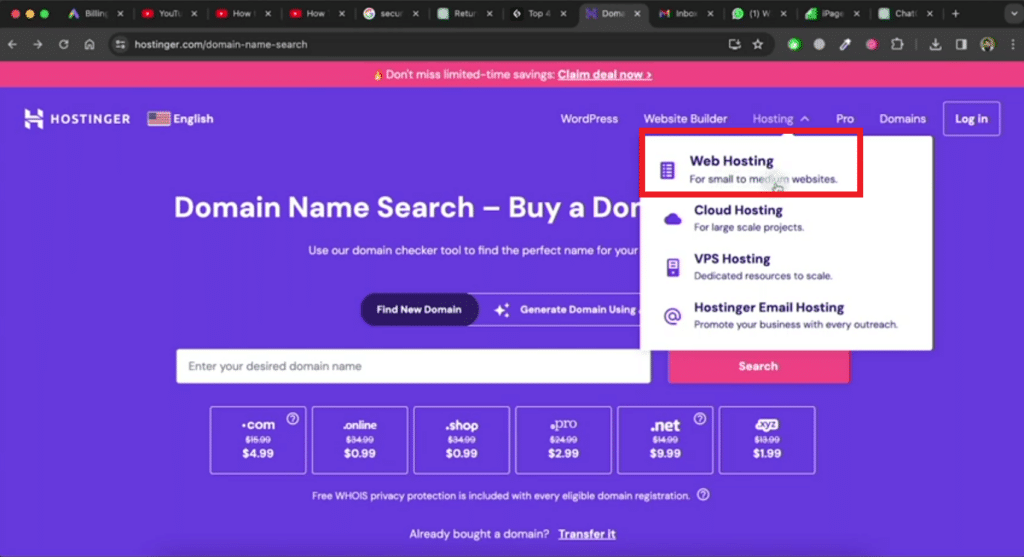
If you have a large website and a large audience, then you need to buy VPS hosting.
Step 3: Install WordPress
If you’ve chosen Hostinger, the process is similar to other hosting providers. Here’s how to install WordPress:
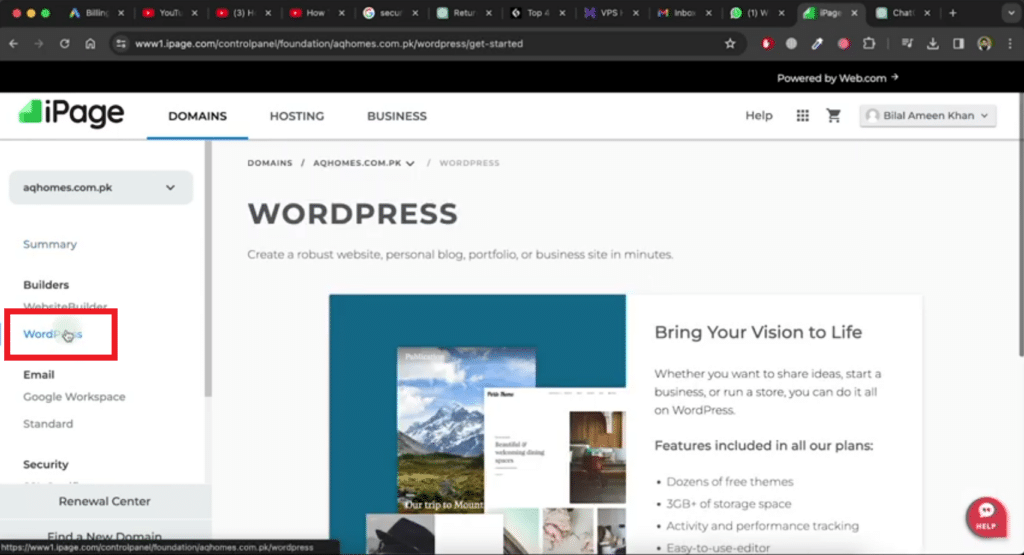
Click on WordPress in the left menu and select ‘Get Started.’
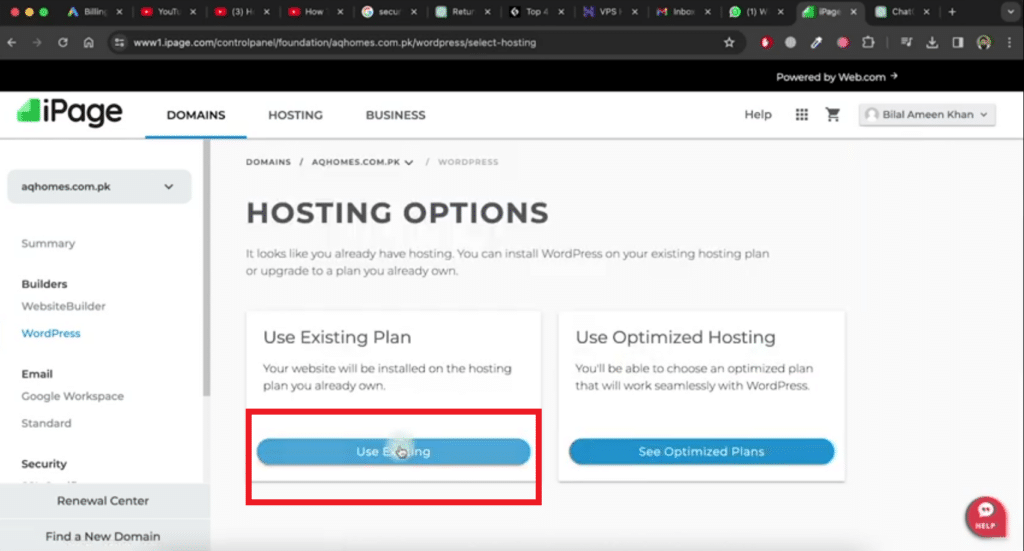
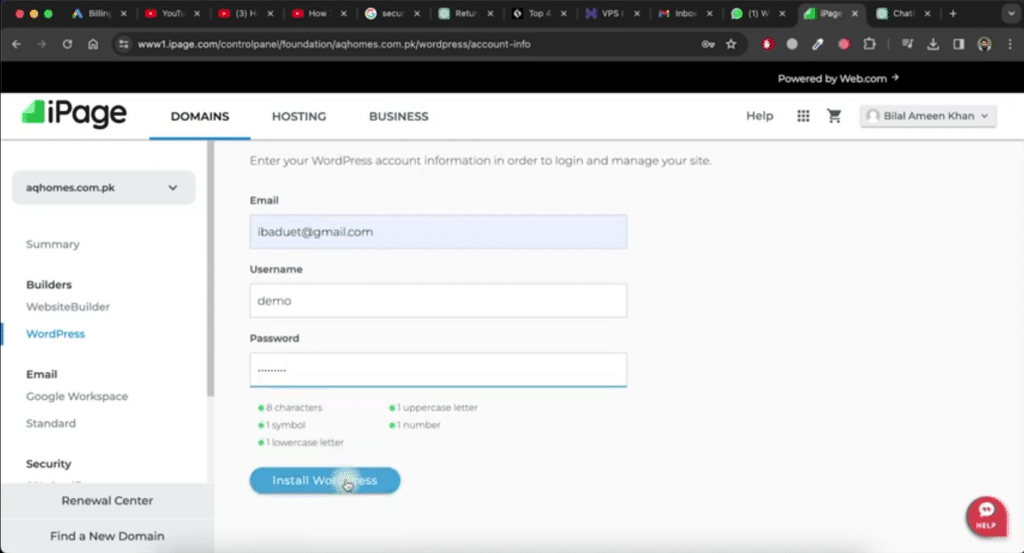
- Choose ‘Use Existing’ and provide details for your WordPress admin account.
Click ‘Install WordPress’ and wait for the process to complete.
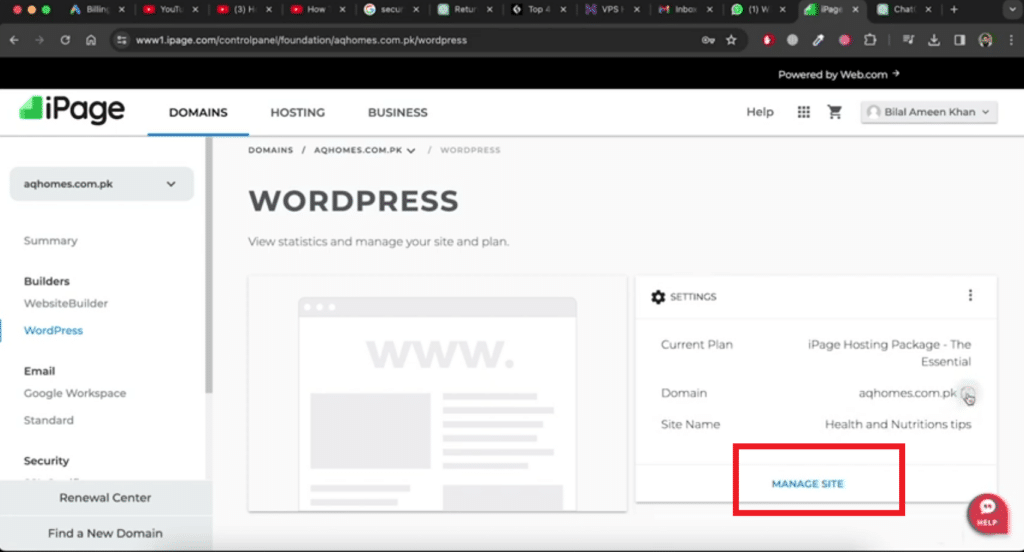
Click on the manage site button.
Now, you can see that we have a brand new website. This is the default theme for our website as we haven’t built the website yet.
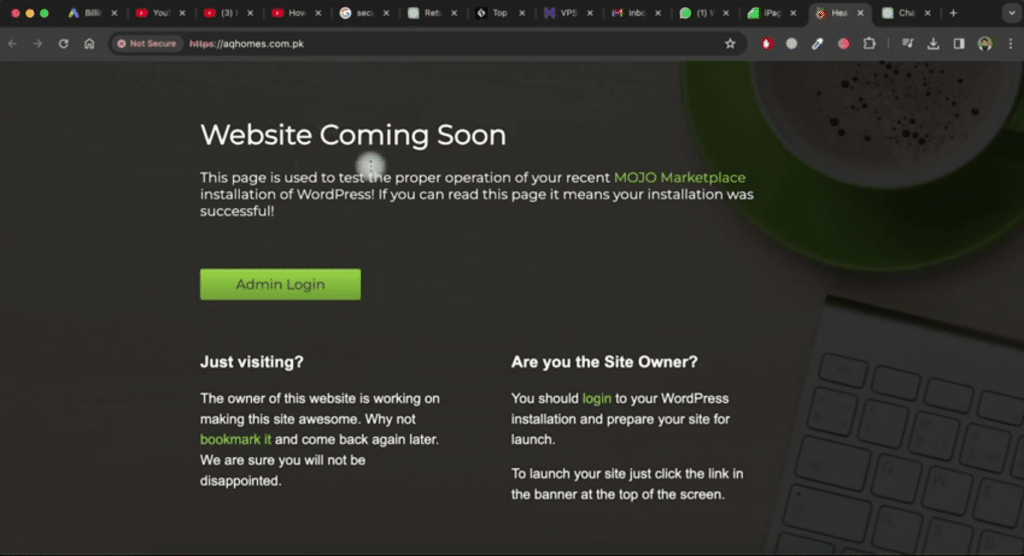
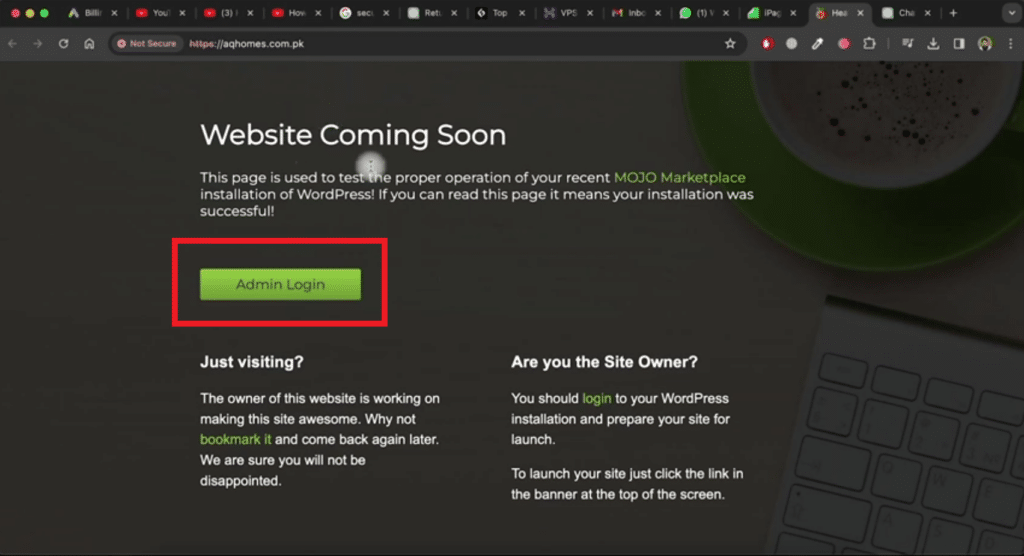
So, let’s start building the site. Click on the admin login button, enter the username and password, and then click on login.
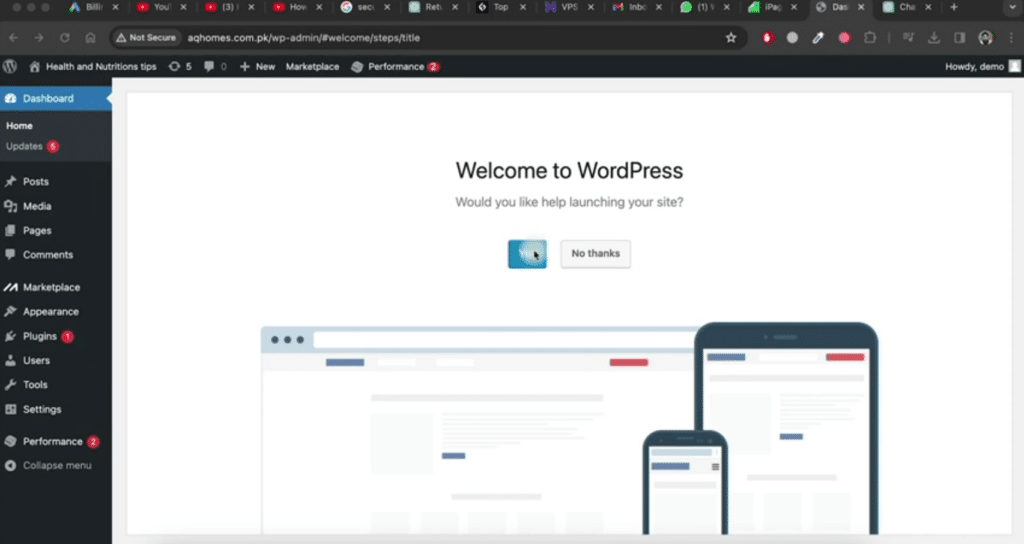
It will bring you to the WordPress main dashboard.
Step 4: Configure WordPress
After installation, configure WordPress settings:
Click ‘Yes’ to proceed.
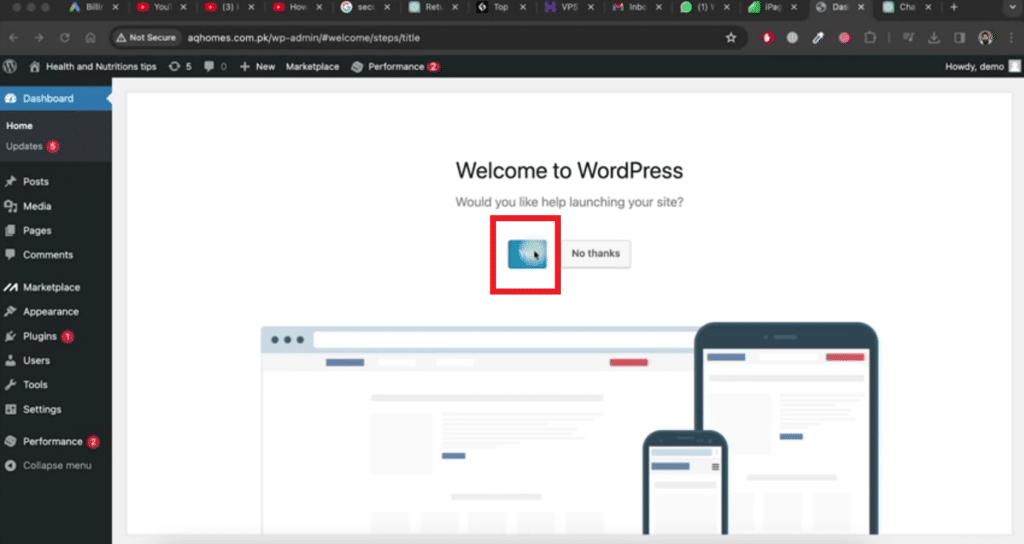
Provide site title and description.
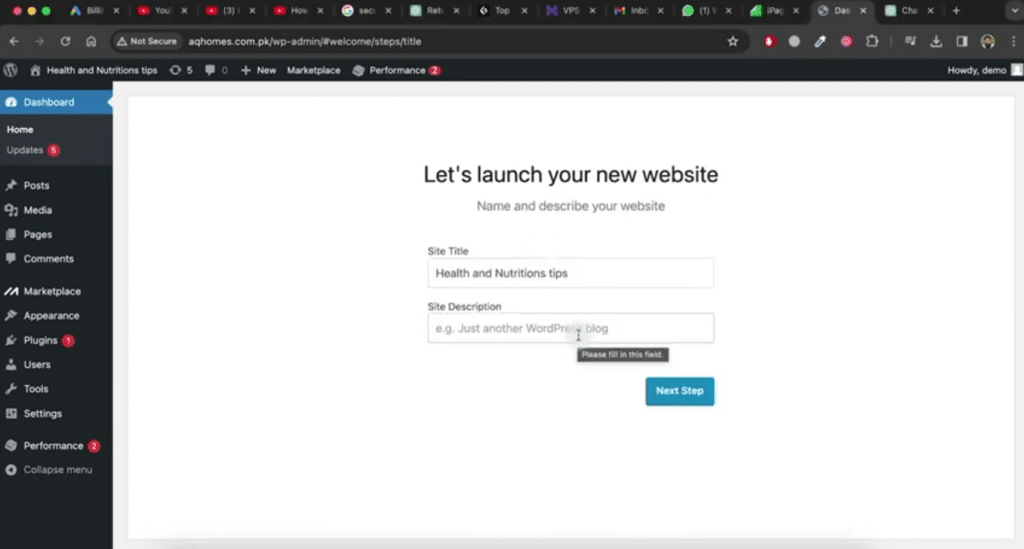
Configure other settings as per your preference.
Step 5: Install Astra Theme
Select a theme to enhance your website’s appearance. We recommend the Astra theme:
Go to Appearance > Themes > WordPress.org Themes.
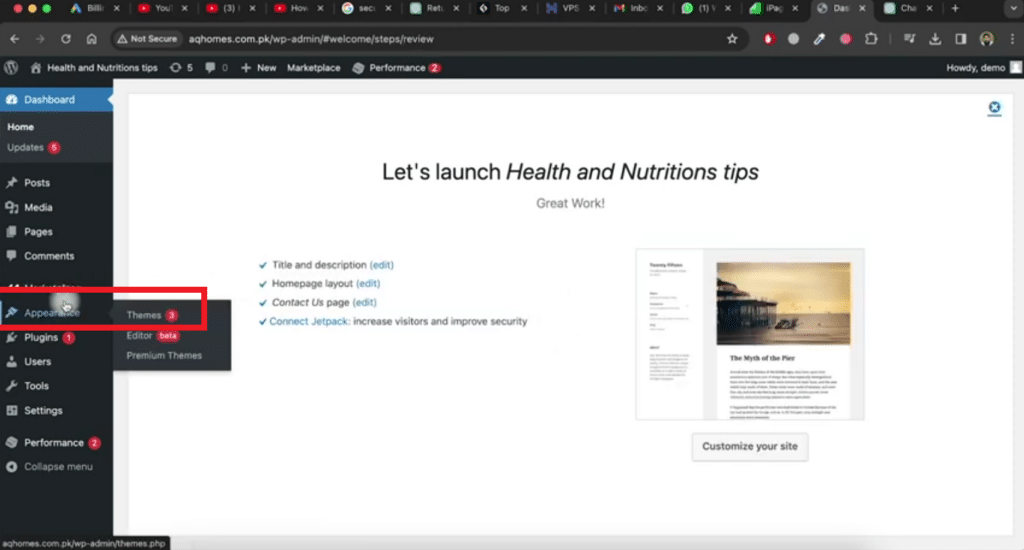
Search for the Astra theme click ‘Install’ and then ‘Activate.’
Step 6: Build Your Website
Now, let’s start building your website using Elementor:
Click ‘Build with Templates’ and choose Elementor as the page builder.
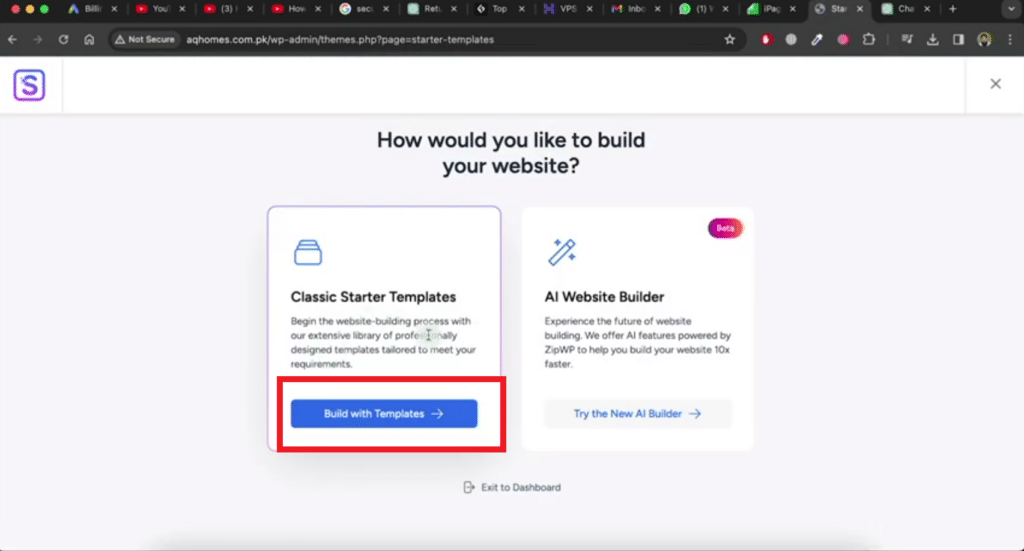
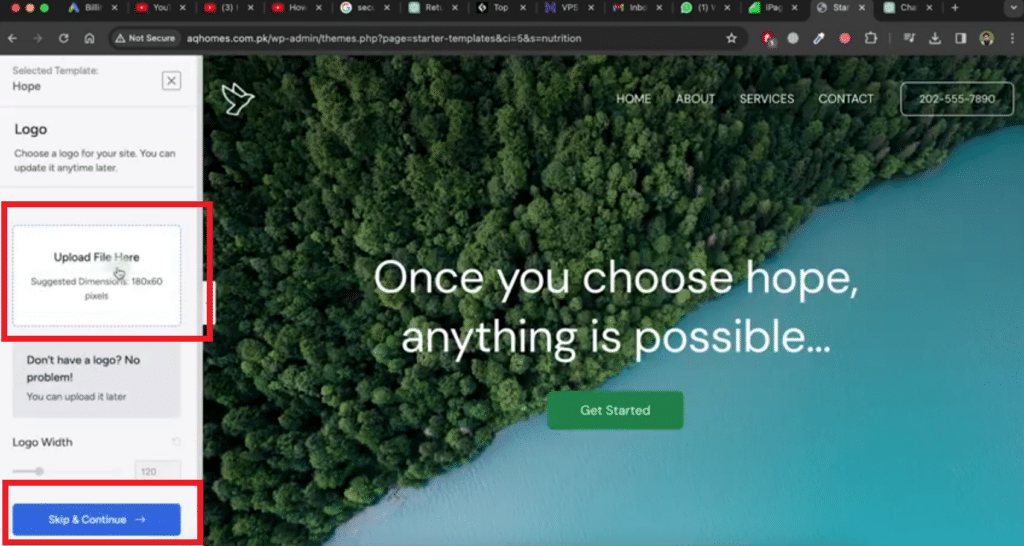
Select a template from the list based on your requirements. Let’s select the Hope template and proceed with customization.
Let’s select the Hope template. Now, upload your logo in this step. Click on the continue button.
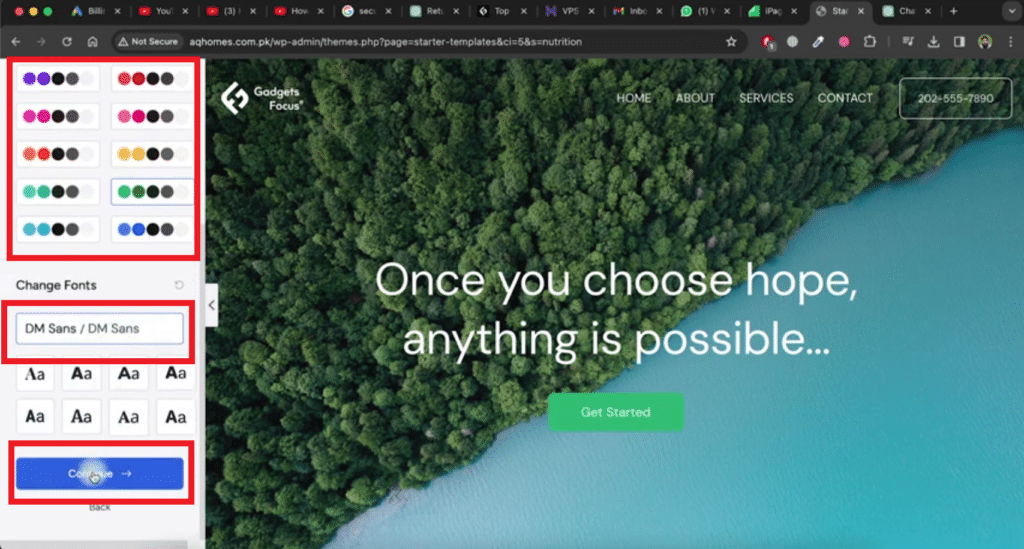
Next, choose the color theme for your website and select fonts. Click on the continue button again.
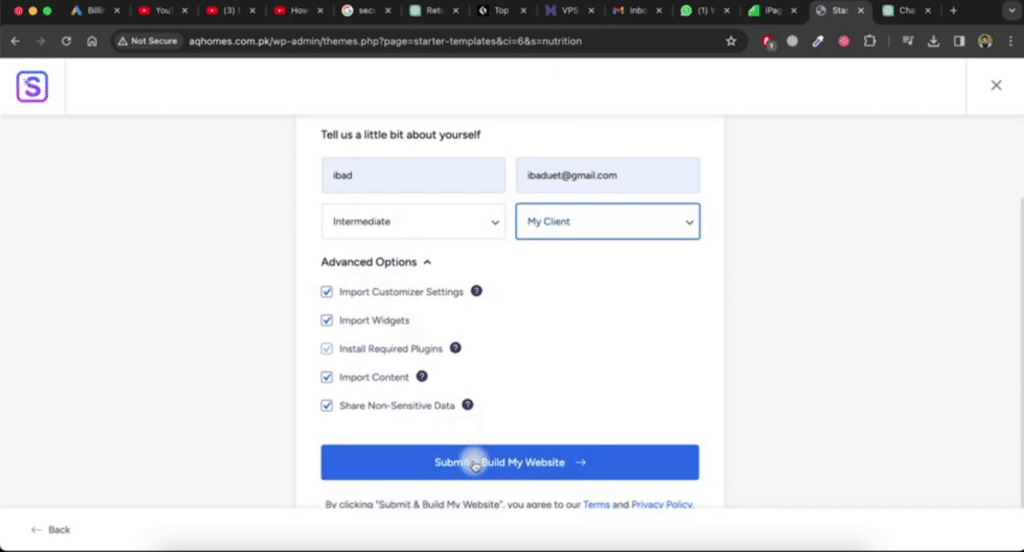
Enter your name, email, etc. in the provided fields, and then click on the submit and build my website button.
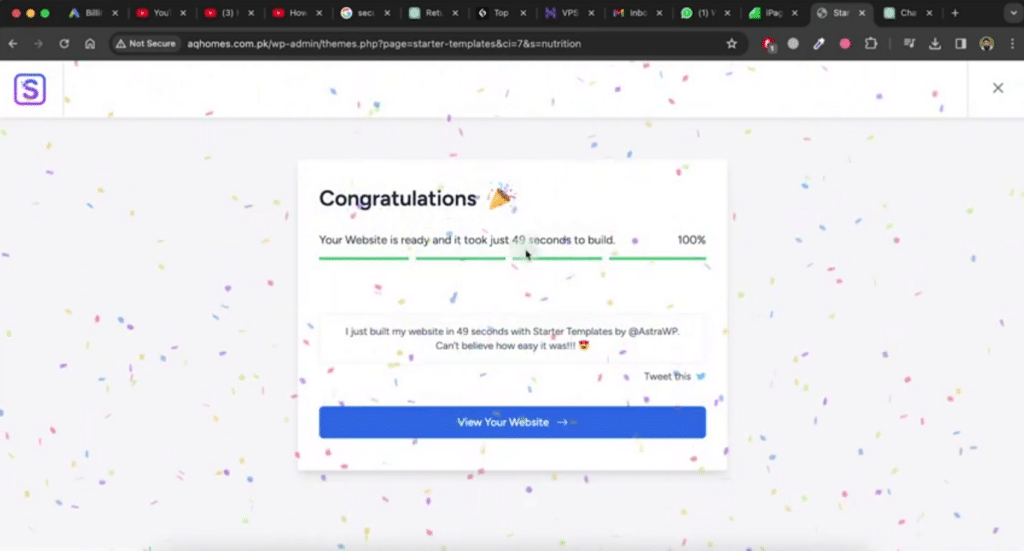
Now, wait for some time to allow the processing to complete. You will see that your website is now ready.
Step 7: Edit Pages and Content
You can easily edit pages and content:
Access the WordPress dashboard, click ‘All Pages,’ and select a page to edit.
Use ChatGPT to generate content for pages if needed.
Step 8: AI Website Building (Alternative Method)
If you prefer an AI-driven approach, follow these steps:
Go to the Astra dashboard, click on ‘Starter Templates,’ and choose ‘AI Website Builder.’
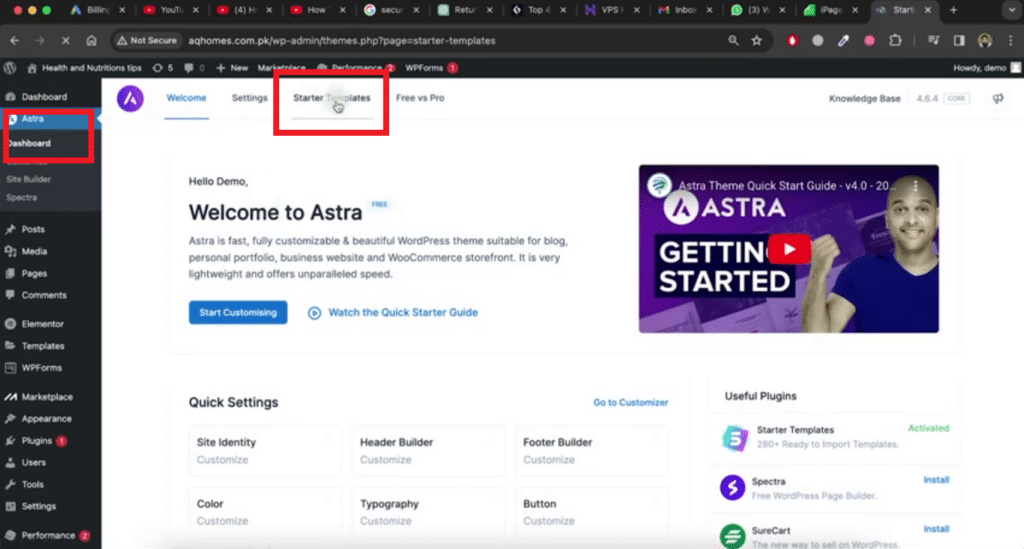
This will redirect you to the zipwp.com AI tool. Log into this tool using your Google account. Once you are logged in, click on the continue button to connect Zipwp with your website. Now, choose an option for your website and click on continue. Provide a name for your website and then click on the continue button. Describe your website in detail. If you are unsure about the details, you can write them through ChatGPT.
Copy the description from ChatGPT and paste it here. Finally, click on the continue button. Please provide your contact details and click on the continue button.
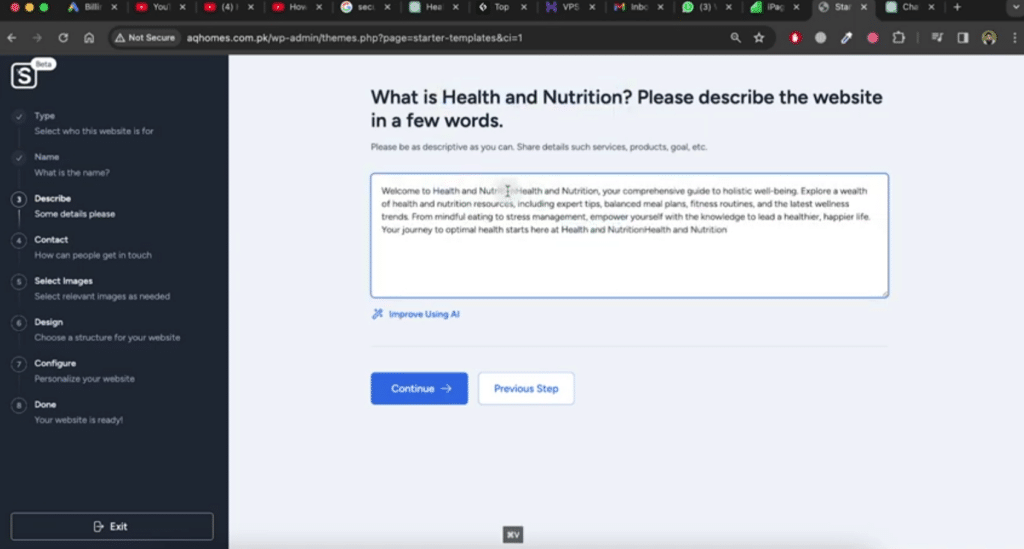
Next, select a professional image for your professional website and click on the continue button. Choose a structural design for your website from the given list and then click on the continue button. Verify all the details and if they are correct, click on the Yes, build this website button.
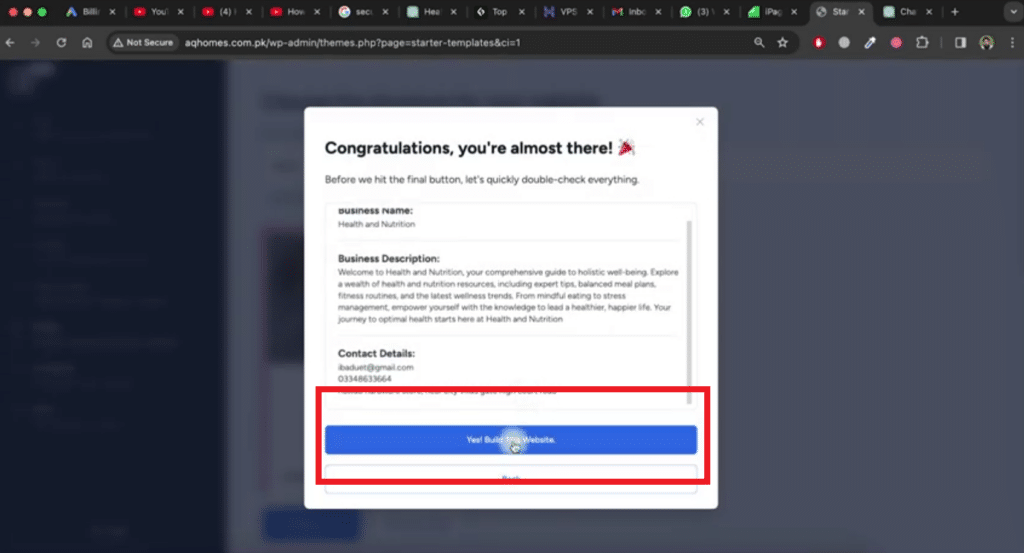
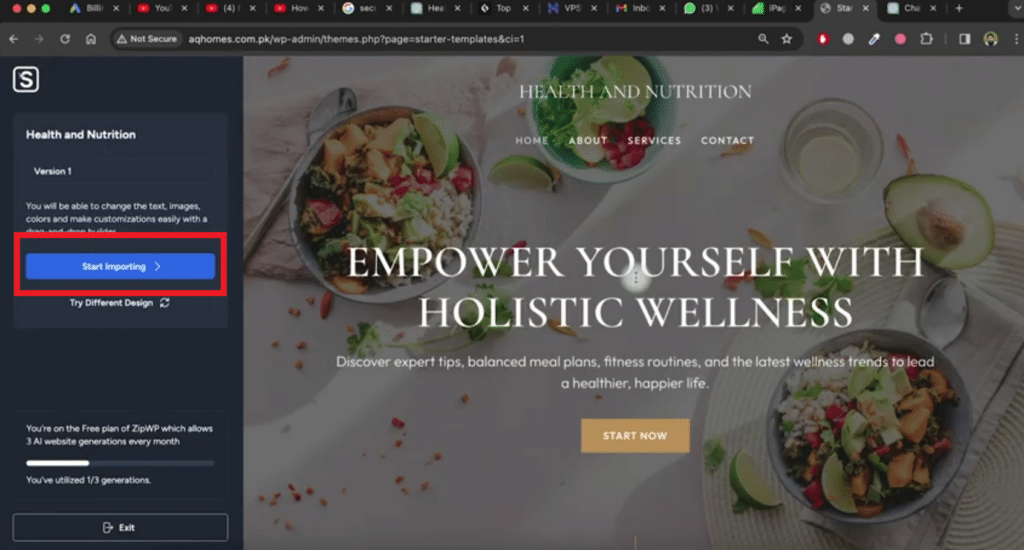
Please wait for processing. It will take some time to create your website. Once the website building is completed, click on the start importing button to import your website from zipwp to your website hosting.
Step 9: Customize Your Website
After building your website, customize it to your liking:
Click ‘Start Customizations’ and modify settings as needed.
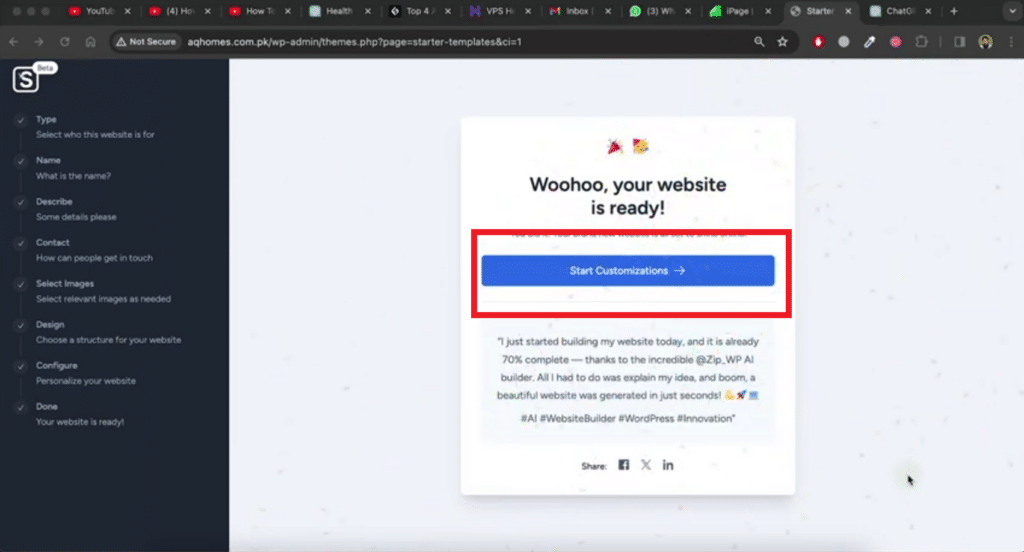
Alternatively, customize from the main WordPress dashboard.
Go to appearance and click on the theme, then click on customize in the Astra theme. Make changes such as typography, colors, etc. from the global option. Modify the header using the header builder option. You can also change the logo, title, and tagline from the site identity option. If you want to make changes to pages or add new pages, follow the steps in the first method.
If you are still confused, then We have uploaded a video (a step-by-step tutorial) on our YouTube channel. Visit our channel and get the guidance.

