Creating websites is an exciting journey, and understanding the basics of HTML (HyperText Markup Language) is the first step. In this guide, we’ll cover the essentials of HTML, from installing the tools you need to creating your very first webpage. Let’s dive in!
What You’ll Need
Before we begin, you’ll need:
- A Web Browser: To view websites, including the ones you create.
- Recommended: Google Chrome
- A Code Editor: To write HTML and CSS code.
- Recommended: Visual Studio Code (VS Code)
Installation
- Google Chrome: Search “Google Chrome download” in any browser and follow the instructions on the official website.
- VS Code: Search “VS Code download” and install from the official site.
What is HTML?
HTML, or HyperText Markup Language, is the backbone of every website. It’s a set of instructions (code) that tells the browser how to display content. For instance:
- Buttons, paragraphs, and links are all created using HTML.
- HTML works together with CSS to style and format content.
Let’s Create Your First Website
Step 1: Set Up Your Workspace
- Create a Folder: On your computer, create a new folder named
HTML-CSS-Course.- This folder will contain all your code files.
- Open the Folder in VS Code:
- Launch VS Code.
- Go to
File > Open Folder, and selectHTML-CSS-Course.
Step 2: Create Your First HTML File
- In VS Code, click the new file icon.
- Name the file
website.html.- Ensure the
.htmlextension is added, as it indicates the file contains HTML code.
- Ensure the
Step 3: Write Your First HTML Code
- Start with a button element:
<button>Hello</button><button>is the opening tag.Hellois the content inside the button.</button>is the closing tag.
- Save the file (
Ctrl + SorCmd + S).
Step 4: View Your Website
- Go to your
HTML-CSS-Coursefolder. - Right-click
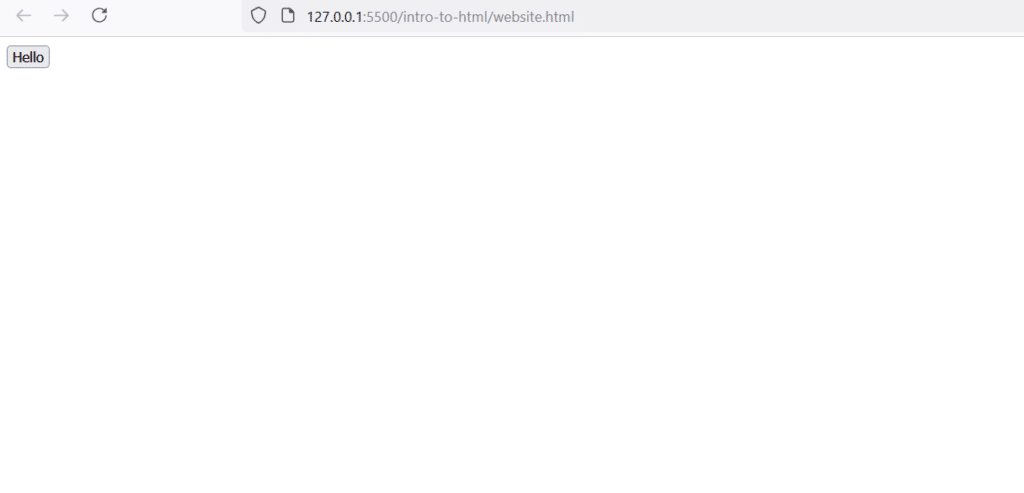
website.htmland select Open with Google Chrome.- You’ll see a button labeled “Hello.”

Step 5: Add a Paragraph
- Add this code below the button:
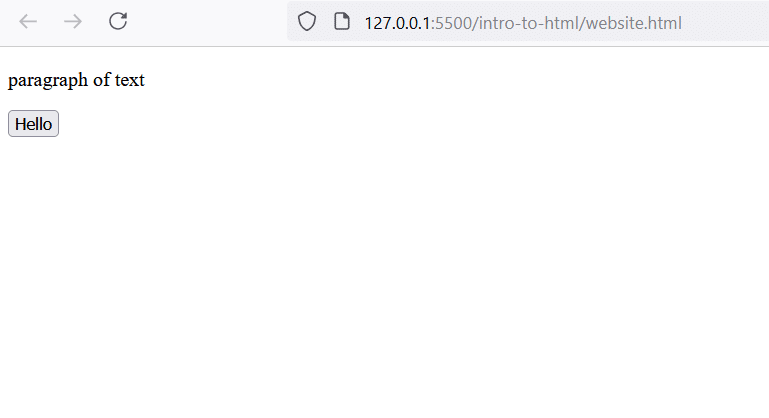
<p>This is a paragraph of text.</p> - Save the file and refresh your browser.
- The paragraph will now appear below the button.

Understanding HTML Syntax
- Tags: Enclose content (e.g.,
<p>and</p>for paragraphs). - Elements: Tags plus the content they enclose.
- Example:
<button>Hello</button>creates a button element.
- Example:
- Attributes: Modify elements. Example:
<a href="https://youtube.com">YouTube</a>hrefspecifies the link’s destination.
Create a Link
- Add this code:
<a href="https://youtube.com" target="_blank">Link to YouTube</a> - Save and refresh your browser.
- The link will open YouTube in a new tab.

Key Tips
- Follow Syntax Rules: Tags must have proper structure.
- Indentation: Use 2 spaces for readability. Update in VS Code:
- Bottom-right > Indent Using Spaces > Set to 2.
Next Steps
- Experiment with HTML elements like headings (
<h1>), images (<img>), and lists (<ul>/<ol>). - Stay tuned for lessons on CSS to style your webpage!
Your First HTML Journey
By now, you’ve:
- Installed essential tools.
- Written basic HTML code.
- Created and viewed your first website.
Congratulations on taking the first step in web development! 🎉


I love it
I make my dreams come true